
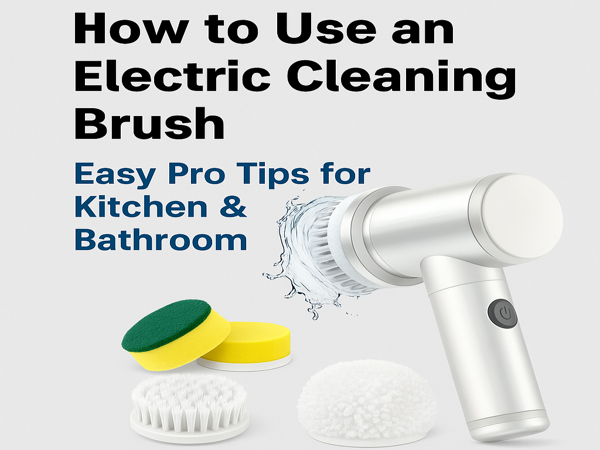
How to Use Electric Cleaning Brush – Pro Tips for Kitchen & Bathroom
Just got an electric cleaning brush? In this simple guide, I’ll show you exactly how to use it for kitchen and bathroom cleaning. Learn pro tips to get better results with the right brush heads, smart techniques, and easy care steps — whether you’re new to electric scrubbers or just want to clean smarter.
If you’ve recently picked up an electric cleaning brush but still feel unsure how to get the best out of it — you’re not alone. These little gadgets can be real game-changers for your home, if you know how to use them right.
Whether you’re scrubbing greasy kitchen counters, tackling bathroom grime, or cleaning hard-to-reach corners, the tips below will help you clean smarter — not harder.
Let’s break it down.
🔄 1. Choose the Right Head for Every Surface
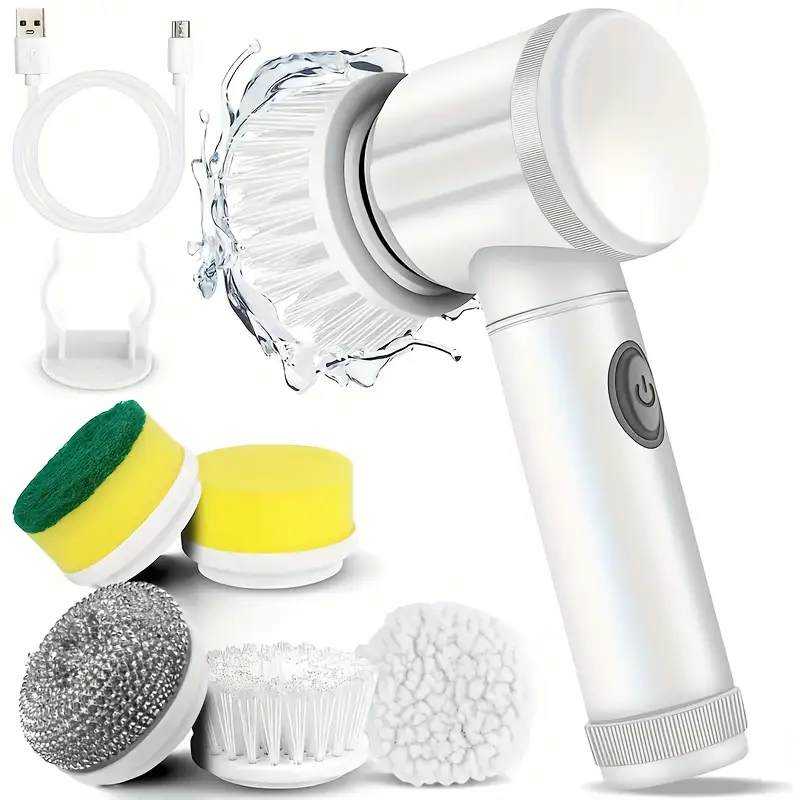
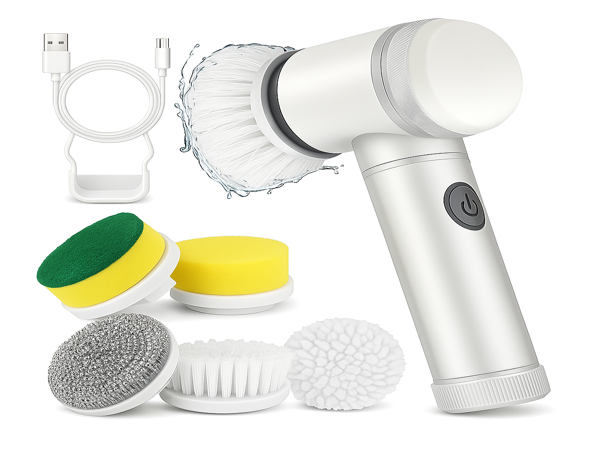
Most electric scrubbers come with detachable brush heads, and each one has a purpose:
- Soft sponge pads → best for fragile surfaces like glass or ceramic
- Round bristle heads → ideal for corners, sinks, and drains
- Flat brushes → great for tiles, walls, or wide counters
- Steel or wire brushes → powerful for grills and baked-on grease
Switching heads might feel like a hassle, but trust me — using the right one makes a huge difference in how clean things actually get.
🔋 2. Fully Charge Before Each Use
Your rechargeable cleaning brush won’t do much on low battery.
Before your cleaning session, plug it in using the included USB cable. Most brushes take around 2–3 hours to charge fully, and a full battery can easily last through multiple rooms.
🔌 Quick Tip: Don’t wait until it dies in your hand — build charging into your routine (like overnight once a week).
💧 3. Use Just Enough Moisture — Not Too Much
While most electric scrubbers for kitchen and bathroom are water-resistant, that doesn’t mean they’re waterproof.
So instead of soaking the brush, spray your surface with water or your favorite cleaner first. Let the brush do the scrubbing — not the soaking.
You don’t want to risk damaging the motor or electrical parts.
🔄 4. Let the Motor Do the Work – Don’t Press Hard
One of the biggest mistakes people make is pressing too hard.
You don’t need to scrub like you’re sanding wood. Let the rotating head work for you — gently move the brush in slow, overlapping circles, especially when cleaning tiles, around faucets, or along shower edges.
It’s better for your hands — and better for your surfaces.
🧼 5. Clean the Heads After Each Session
After using your brush, remove the attachment, rinse it with warm water and a bit of soap, and let it air dry.
This prevents dirt buildup, bad smells, and bacterial growth.
If your brush came with a wall hook or stand, use it — it keeps things organized and ready for next time.
🧽 Bonus Ideas – Where Else Can You Use It?
This isn’t just a bathroom tool. Here are some unexpected spots where this little powerhouse shines:
- Scrubbing oven doors
- Cleaning grout lines on the floor
- Washing car rims or headlights
- Freshening up window sills and baseboards
- Even cleaning your pet’s feeding area!
You’ll be amazed at how much more useful this brush becomes once you think beyond the sink.
🔗 Want the Full Product Review?
If you want to know more about what’s inside the box, how the product feels in real-life use, and what it’s truly capable of…
👉 Click here to check out our full review of the electric cleaning brush.
(It includes pros, cons, performance details, and more.)
✅ Final Thoughts
Learning how to use your electric cleaning brush properly isn’t complicated — but it does make a huge difference.
By choosing the right head, keeping it charged, and using the correct motions, you’ll save yourself time and effort. And honestly? You might even start enjoying the cleaning process.
Whether it’s your first time using a bathroom scrubber or you’re just upgrading your tools, these tips are the difference between “meh” results and sparkling clean surfaces.


One Comment