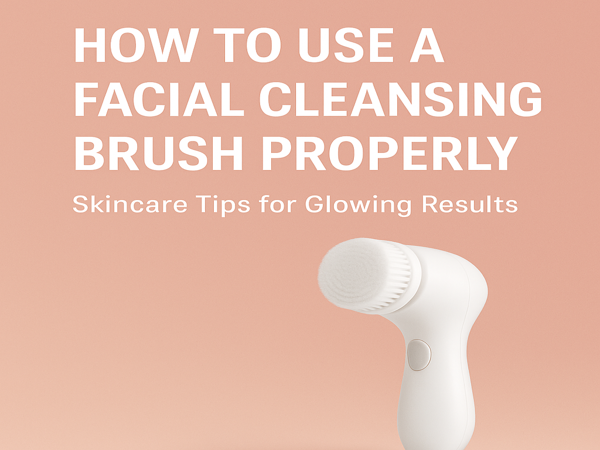
How to Use a Facial Cleansing Brush Properly – Skincare Tips for Glowing Results
Not sure how to use your facial cleansing brush the right way? In this guide, we’ll walk you through simple, step-by-step tips to help you get the most out of your skincare routine — whether you’re new to facial brushes or just want better results. Let’s make your skin glow the smart way!

If you just got a new facial cleansing brush and you’re wondering how to use it the right way, you’re not alone. Lots of people get excited about skincare tools, but don’t always get the results they hoped for — simply because they’re using them wrong.
In this article, I’ll show you step-by-step how to use a facial cleansing brush properly, based on expert advice and real experiences. Whether you’re a total beginner or you’ve been using brushes for a while, these tips will help you get the most out of your routine.
And if you haven’t seen our review of one of the most popular rechargeable brushes, check it out here:
👉 Rechargeable Facial Cleansing Brush – Trusted Review
Step-by-Step: How to Use Your Facial Brush the Right Way
Here’s a simple routine you can follow — no stress, no complicated steps:
- Start with a clean slate
Remove any makeup using micellar water or a gentle wipe. Don’t use the brush directly on makeup-covered skin. - Wet your face and the brush head
Use lukewarm water. This helps open up your pores for a deeper cleanse. - Apply your favorite cleanser
Use a gentle, non-abrasive cleanser. Don’t put it directly on the brush — apply it to your face instead. - Use the brush in circular motions
Slowly glide the brush over your face. No need to press hard — let the brush do the work. Focus on your T-zone, nose area, and chin. - Rinse thoroughly
Wash off any remaining cleanser with water. Then gently pat your face dry with a clean towel. - Follow with toner and moisturizer
To keep your skin balanced and hydrated after cleansing.

How Often Should You Use It?
🟢 For oily or combination skin: 1 time per day is usually safe.
🟡 For sensitive or dry skin: 2–3 times a week is enough.
⚠️ Overuse can lead to irritation or dryness — so listen to your skin!
Avoid These Common Mistakes
Let’s keep it real. Even the best tools won’t help if you’re making these errors:
- Using too much pressure – This can actually harm your skin instead of helping it.
- Not cleaning the brush head – Always rinse it thoroughly and let it dry.
- Using harsh exfoliators with the brush – Big no. Let the brush exfoliate on its own.
- Forgetting to replace brush heads – Change them every 2–3 months to stay hygienic.
Which Cleanser Should You Use?
Here are some gentle options based on skin type:
- Oily skin: Look for gel-based cleansers with salicylic acid.
- Dry skin: Go for creamy, hydrating formulas (like the one we mentioned in our CeraVe Cleanser Review).
- Sensitive skin: Fragrance-free and low-foam options are your best friend.
Still Not Sure Which Brush to Get?
If you’re looking for a high-value brush that’s rechargeable, waterproof, and comes with 5 brush heads, we’ve already reviewed a great one here:
👉 Rechargeable Facial Cleansing Brush – Trusted Review
It’s beginner-friendly, affordable, and perfect for both daily and travel use.
Final Thought – Small Routine, Big Results
Using a facial cleansing brush the right way can make a big difference in how your skin feels and looks. With the correct technique and a bit of consistency, you’ll start noticing smoother texture, fewer clogged pores, and that healthy glow we all want.
So take your time, follow the steps, and enjoy your skincare time — your face deserves it.