
How to Use a Massage Gun for Each Muscle Group – Simple & Effective Guide
How to use a massage gun for each muscle group is easier than you think. In this simple guide, you’ll learn exactly which head to use for each muscle group — from your neck and shoulders to your legs and feet. We’ll walk you through the best techniques, how long to use it, and what to avoid, so you get real relief without risking injury. Practical tips, no fluff.
Let’s Keep It Real…
So you finally got yourself a massage gun. Looks cool, feels solid, but… now what? 🤔
Which head should you use for your neck? What about sore legs after leg day? And is it even safe to use it on your lower back?
Don’t worry — I’ve been there too.
In this quick guide, I’ll show you exactly how to use a massage gun for each muscle group.
No technical talk. No confusing terms. Just straight-up, real advice that actually helps.
✅ First time hearing about massage guns? You might want to check out my full review here:
👉 Massage Gun for Muscle Recovery and Deep Tissue Relief – Honest Review
Why Matching the Right Head to the Right Muscle Matters
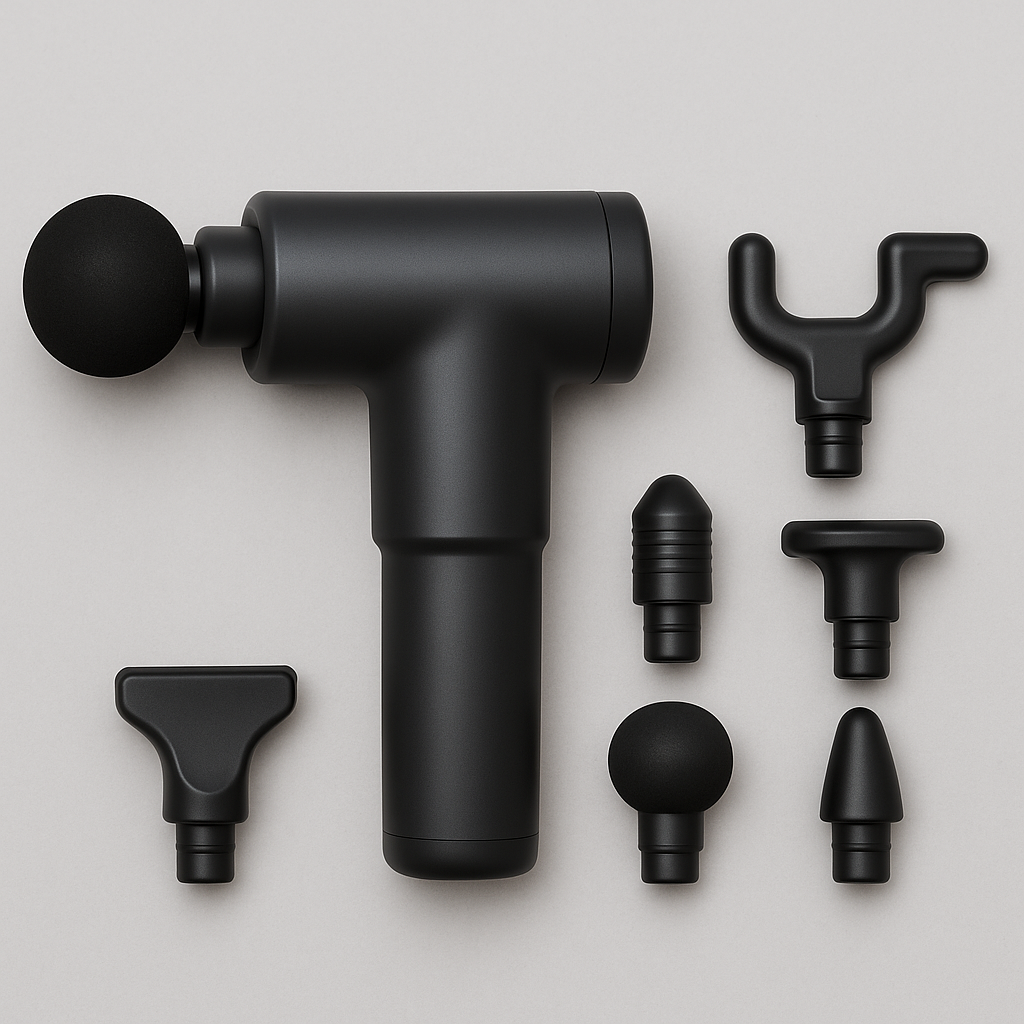
Think of your massage gun like a toolbox.
Each attachment has a job. Use the wrong one — and it’s like using a hammer to tighten a screw.
Getting the right combo means:
- Faster muscle recovery
- Less soreness after workouts
- Less risk of injury
- A way better experience overall
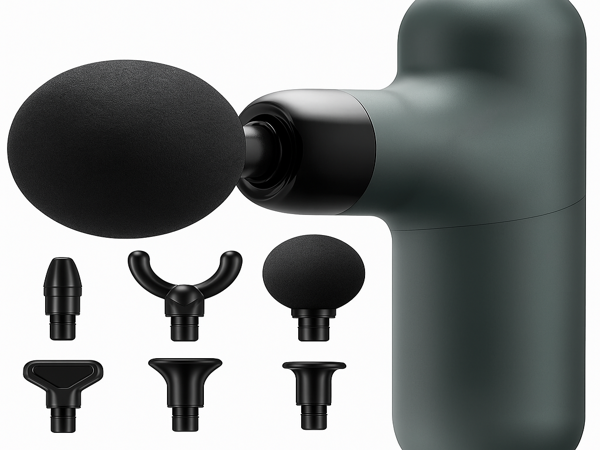
🎯 Best Massage Gun Exercises by Muscle Group
| Muscle Group | Recommended Head | How to Use It | Duration |
|---|---|---|---|
| Neck & Shoulders | U-Shape Head | Glide gently up and down the sides of your neck. Avoid direct pressure on bones. | 1–2 min per side |
| Upper Back | Flat Head | Move in slow circles along each side of your spine. Keep pressure even. | 2–3 min |
| Lower Back | Thumb Head | Focus on tight spots along the lower back area (but never right on the spine). | 1–2 min |
| Quads (Thighs) | Round Head | Start at the knee and work your way up to your hips. Medium pressure is enough. | 2–3 min each leg |
| Calves | Bullet Head | Target those deep points below the knee. Short, controlled movements. | 1–2 min each leg |
| Arms & Forearms | Flat or Round Head | Roll across your biceps, triceps, and forearms. Gentle speed is best here. | 1 min per arm |
| Feet & Heels | Bullet or Thumb Head | Focus on the arch, heel, and any sore spots. Avoid bones. | 30 sec – 1 min |
A Few Smart Tips Before You Start
- ⚠️ Never use it directly on bones or joints.
- 🕓 Don’t overdo it — 1–3 minutes per area is more than enough.
- 💧 Drink water after your session — it helps flush out toxins and reduce fatigue.
- 🧘♂️ Relax while using it — don’t tense up, just breathe and let it do the work.
Real-Life Example: My Quick Routine After Workouts
After a hard leg day, I grab the round head and spend a couple of minutes on each quad.
Then I switch to the bullet head for my calves — those tight spots behind the knee? Game changer.
If my lower back is acting up, I pull out the thumb head and ease the pressure near my spine. Instant relief.
✅ Want the full scoop on the massage gun I’m using?
👉 Here’s the honest review with real user experiences
Final Thoughts – Simple, Right?
You don’t need a PhD in physical therapy to use a massage gun.
But using the right attachment for the right muscle?
That’s what takes it from “just a gadget” to a serious recovery tool.
Take a few minutes, learn how your body responds, and enjoy the process. Your muscles will thank you.
Got questions or tips of your own? Share them — I’d love to hear how you’re using your massage gun in your routine.

One Comment